Managing Project Images
In this section, you learn how to manage project images in an annotation project. You will also learn how to export annotations from individual project images as geojson (.zip file) to your local computer and AMD.
Adding Images
You can add project images when you create an annotation project. If you didn’t add specific images initially or want to include additional images later, you can add them after the annotation project is created. To find relevant images, you can apply filters individually or in combination with each other.
In this section, you will get to know how to add project images after an annotation project is created.
To add images, do the following:
- Login to the platform.
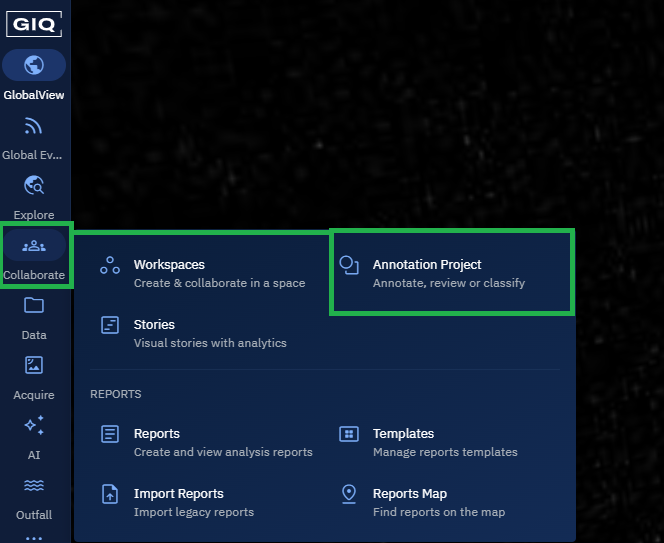
- Click the Collaborate module and then proceed to click the Annotation Project sub-module.
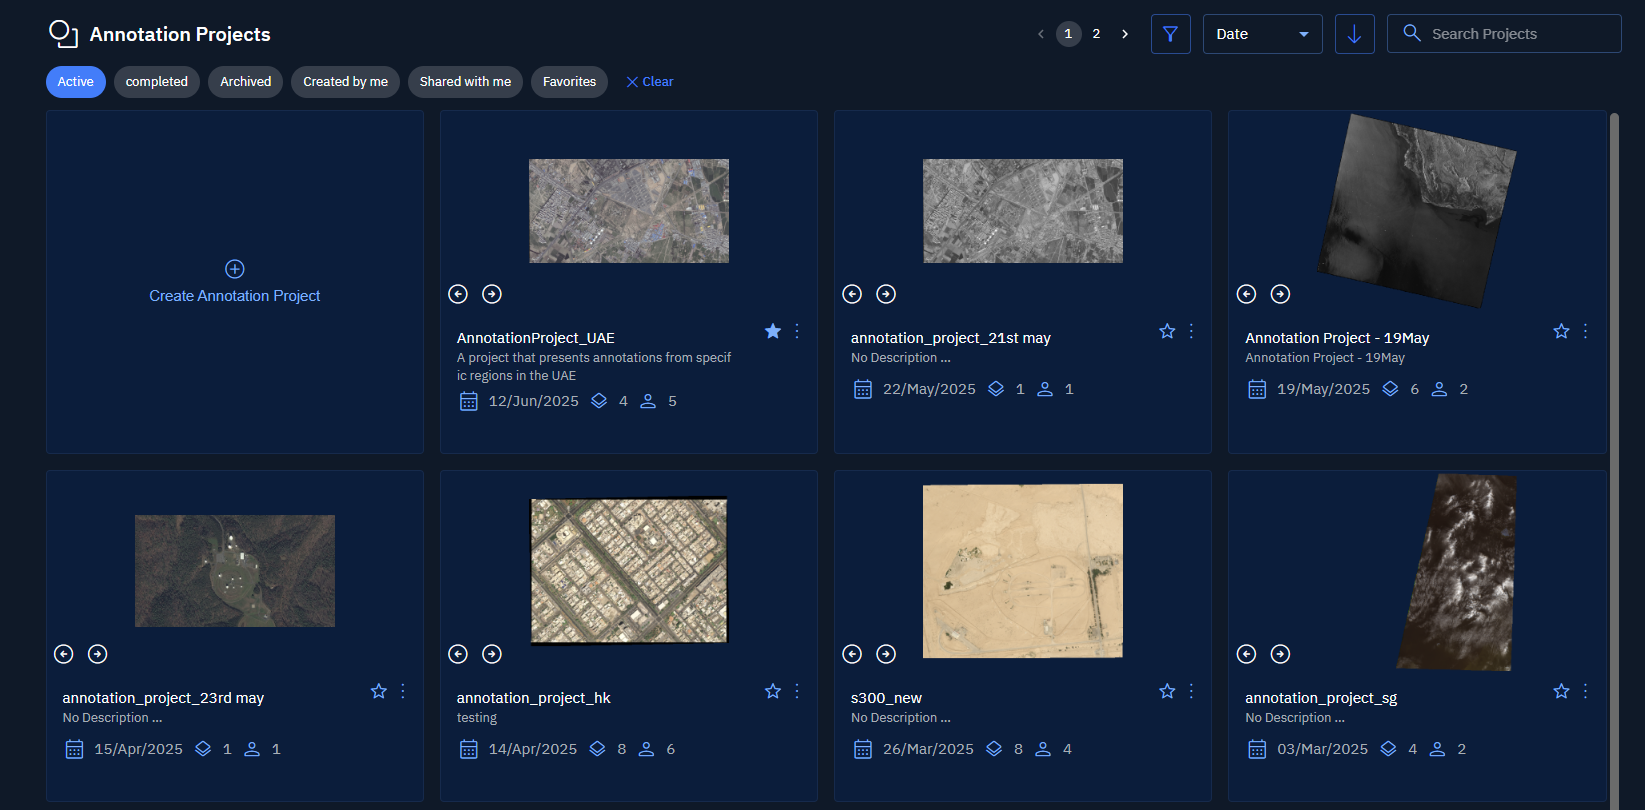
The Annotation Projects homepage is displayed.
- In the Annotation Projects homepage, locate an existing annotation project, and then click to open it.

- On the Annotation Project page, on the Project Images panel, click the Add Layers icon.
The Edit Annotation Project dialog box is displayed.
- In the Edit Annotation Project dialog box, click the Filter icon, and then use the following filters individually or in combination with each other to find the relevant image or images:
- Type the name of the image in the Search field.
- Select a Start Date and End Date of image acquisition.
- Select the source data type of the image in the Source Data Type drop-down list.
- Select the relevant categories in the Categories drop-down list.
- Draw an AOI to find relevant images that fall within the area of interest.
The platform displays the image or images that match the applied filter criteria.
- Select the relevant image or images, click the Preview icon to confirm if it is indeed the image that you want to add, and then click the Save button. This action will add the relevant image or images to the rest of the project images.
Filtering Images
In this section, you can use the date filter to view images that fall within the specified date range.
To use filters, do the following:
- Login to the platform.
- Click the Collaborate module and then proceed to click the Annotation Project sub-module.
The Annotation Projects homepage is displayed.
- In the Annotation Projects homepage, locate an existing annotation project, and then click to open it.
- On the Annotation Project page, on the Project Images panel, click the Filter icon.
Opening Image in File Manager
At times, you may have to open the image in the File Manager and verify specific details of the image. In the File Manager, you can also view a list of the detection models that have used the particular image.
In this section, you will get to know how to view image details and the list of detection models that have used the image.
To open image in file manager, do the following:
- Login to the platform.
- Click the Collaborate module and then proceed to click the Annotation Project sub-module.
The Annotation Projects homepage is displayed.
- In the Annotation Projects homepage, locate an existing annotation project, and then click to open it.
- On the Annotation Project page, under the Project Images panel, locate the image that you want to view, click the vertical three-dots menu of the image, then click the Open in File Manager option.
Viewing Image in Explorer
In this section, you can simply open a project image in the Explorer. In the Explorer, you can view and verify the image details like image properties, model run history, and resampling details.
To view image in explorer, do the following:
- Login to the platform.
- Click the Collaborate module and then proceed to click the Annotation Project sub-module.
The Annotation Projects homepage is displayed.
- In the Annotation Projects homepage, locate an existing annotation project, and then click to open it.
- On the Annotation Project page, under the Project Images panel, locate the image that you want to view, click the vertical three-dots menu of the image, then click the Go to the Layer option.
Downloading Original File
You can download the original file to your local computer to study, verify, or simple analyze it.
To download the original image, do the following:
- Login to the platform.
- Click the Collaborate module and then proceed to click the Annotation Project sub-module.
The Annotation Projects homepage is displayed.
- In the Annotation Projects homepage, locate an existing annotation project, and then click to open it.
- On the Annotation Project page, under the Project Images panel, locate the image that you want to download, click the vertical three-dots menu of the image, then click the Download Original File option.
Exporting Features or Annotations
In this section, you will get to know how to export annotations for individual or single images
To export features or annotations for individual images, do the following:
- Login to the platform.
- Click the Collaborate module and then proceed to click the Annotation Project sub-module.
The Annotation Projects homepage is displayed.
- In the Annotation Projects homepage, locate an existing annotation project, and then click to open it.
- On the Annotation Project page, under the Project Images panel, locate the image that contains annotations you want to export, click the vertical three-dots menu of the image, then select the Export Features option.
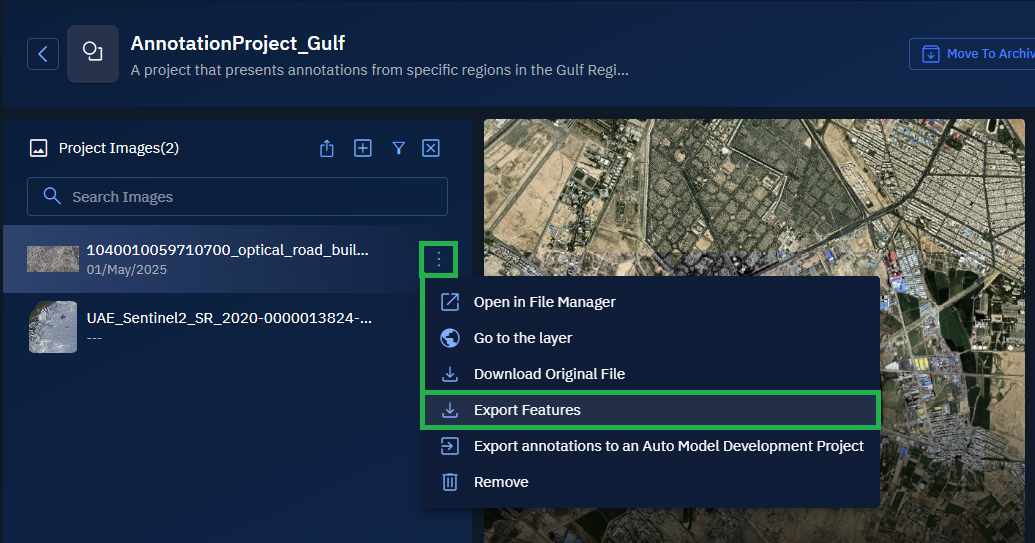
The Export Annotations dialog box is displayed.
-
In the Export Annotations dialog box, click the Format drop-down list, and do one of the following:
- Select the geojson option to export annotations in geojson format.
- Select the kml option to export annotations in kml format.
-
Click the Export button to download annotations in the format of your choice to your local computer.
Exporting Annotations to AMD
In this section, you can export annotation of all the selected project images to build AI models with your annotated data.
These models can be used to automate object detection for specific features (for example, vehicles, aircraft, defense systems, and so on).
When you export annotations to AMD, you can select an existing AMD project or create a new one on the fly. These selected annotations are then used as training data for model development. For example, if you annotate objects like F-16s or S-400 systems, the platform uses this data to train a model. Once ready, you can run the model to auto-detect objects like F-16s or S-400 systems in other satellite images.
To export annotations to AMD, do the following:
- Login to the platform.
- Click the Collaborate module and then proceed to click the Annotation Project sub-module.
The Annotation Projects homepage is displayed.
- In the Annotation Projects homepage, locate an existing annotation project, and then click to open it.
- On the Annotation Project page, under the Project Images panel, locate the image that contains annotations you want to export, click the vertical three-dots menu of the image, then select the Export annotations to Auto Model Development Project option.
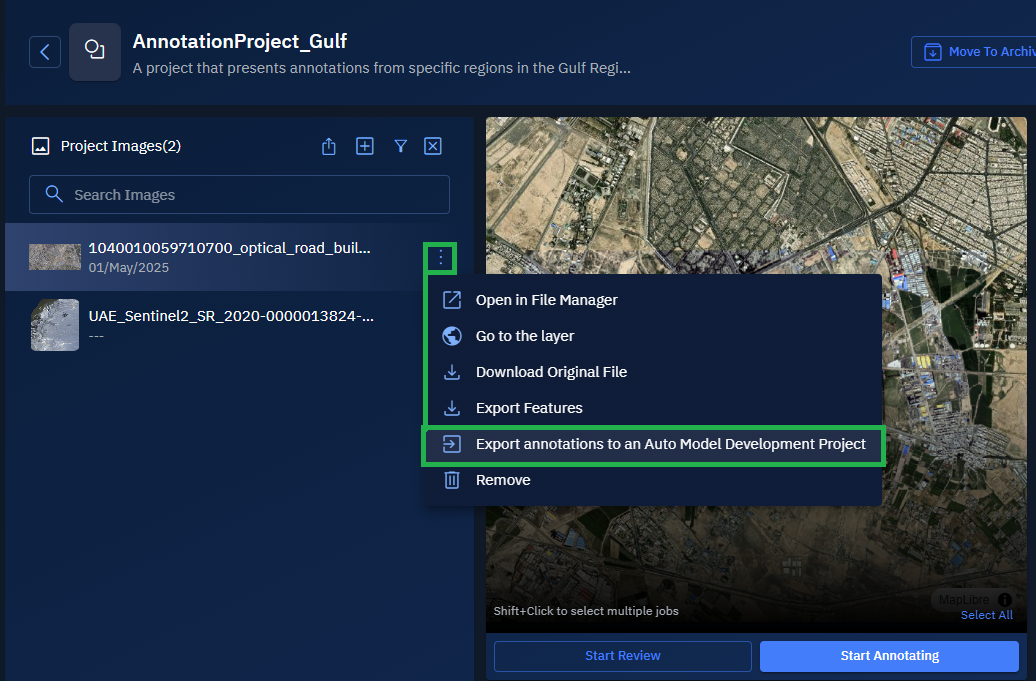
The Export Annotations dialog box is displayed.
- In the Export Annotations dialog box, do one of the following:
- Select an existing AMD project, select the annotation category that you want to export to the AMD project, and click the Export button.
- Click the + icon, type the name of the AMD project and create a new AMD project. Now select the new AMD project, select the annotation category that you want to export to the AMD project, and click the Export button.
The annotations are successfully exported.
- Click the Go To Auto Model Development Projects button to access model.
Removing Image
In this section, you will get to know how to permanently remove an image from the annotation project.
To remove an image, do the following:
- Login to the platform.
- Click the Collaborate module and then proceed to click the Annotation Project sub-module.
The Annotation Projects homepage is displayed.
- In the Annotation Projects homepage, locate an existing annotation project, and then click to open it.
- On the Annotation Project page, under the Project Images panel, locate the image that you want to download, click the vertical three-dots menu of the image, then click the Remove option.